1
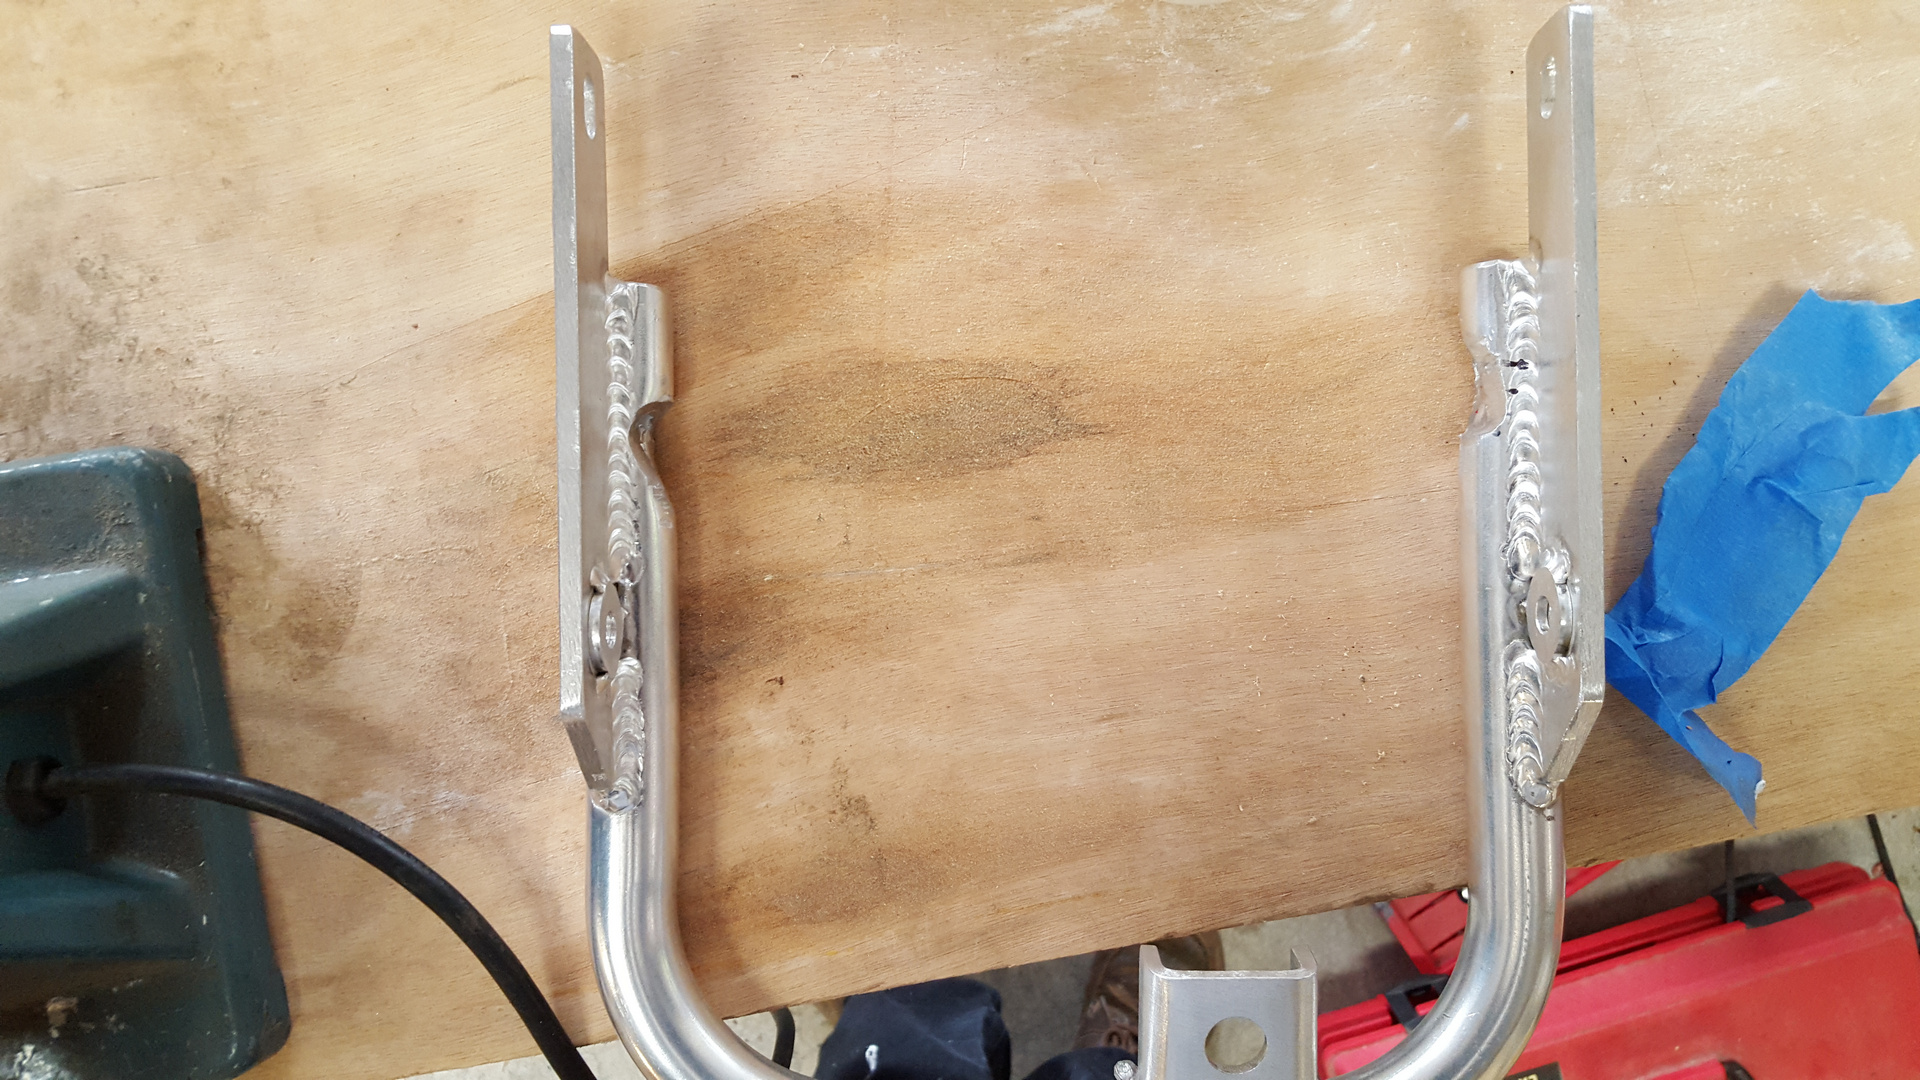
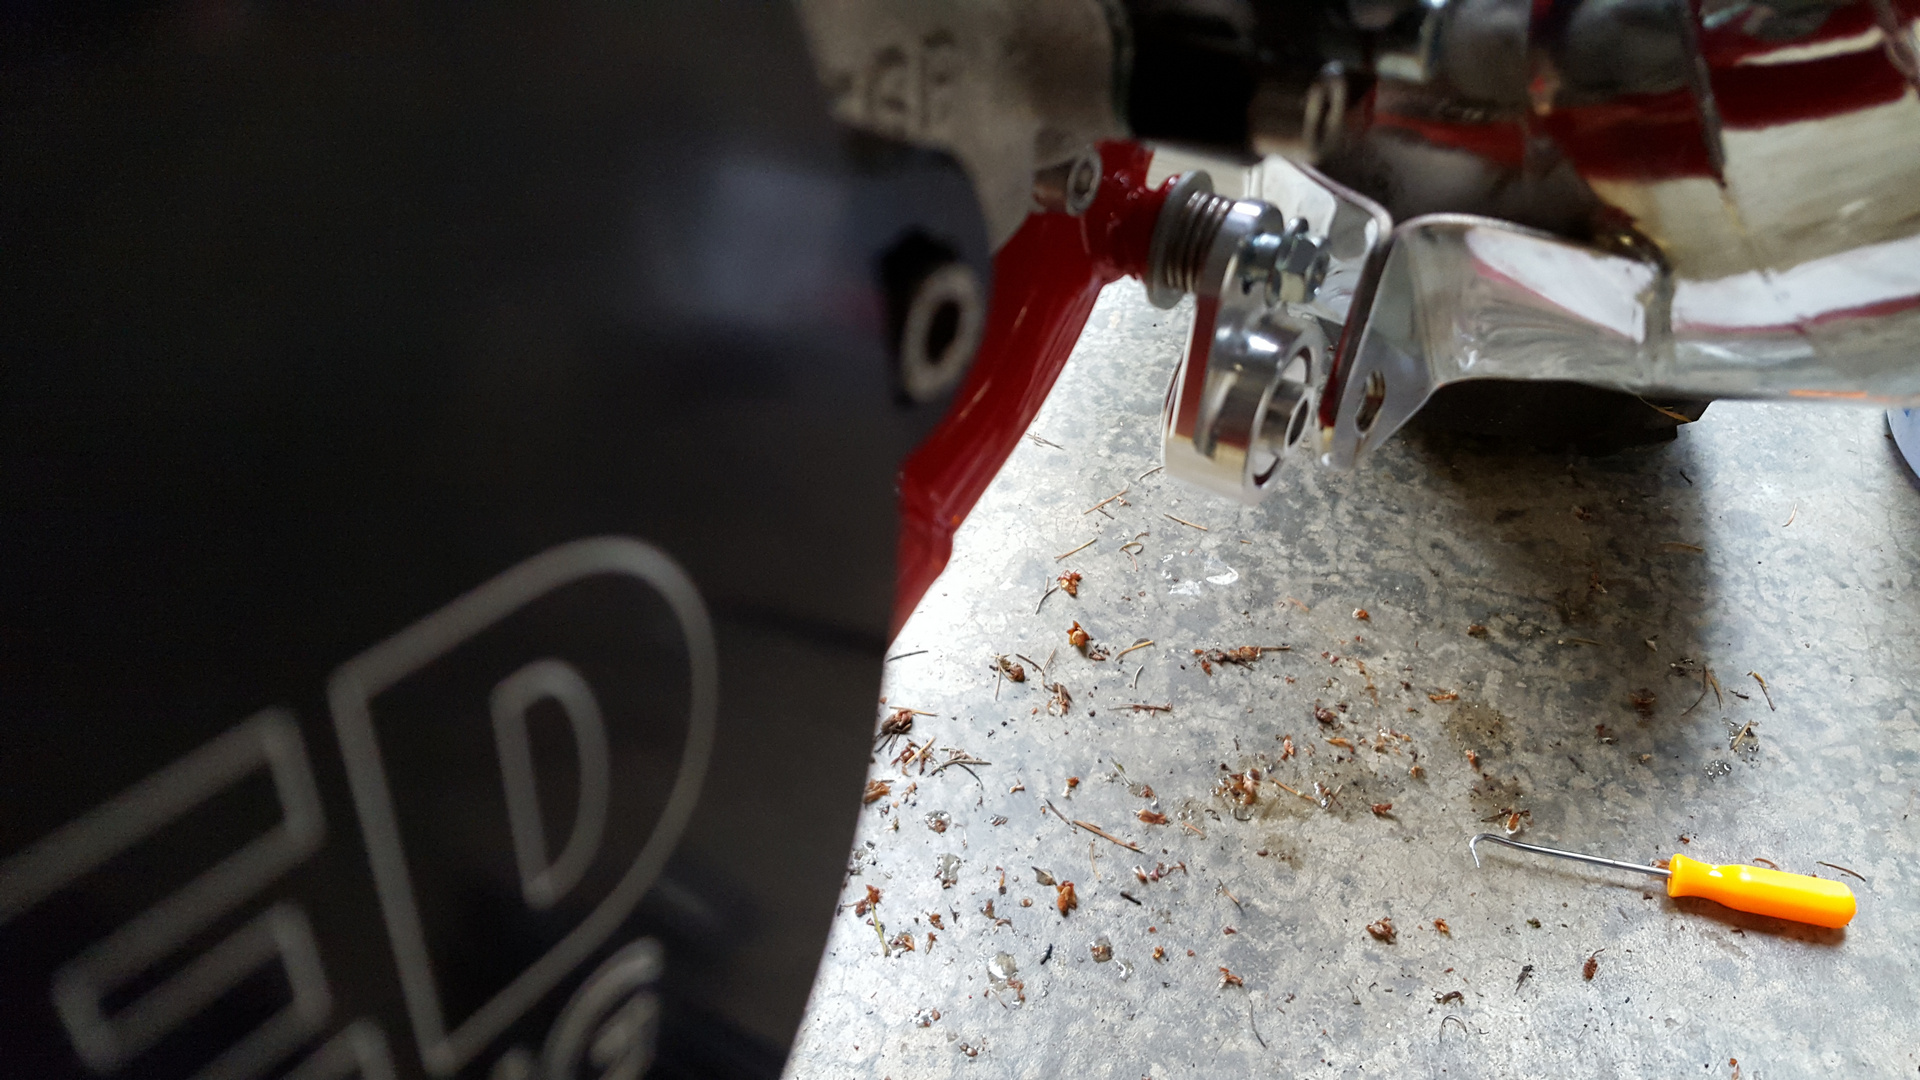
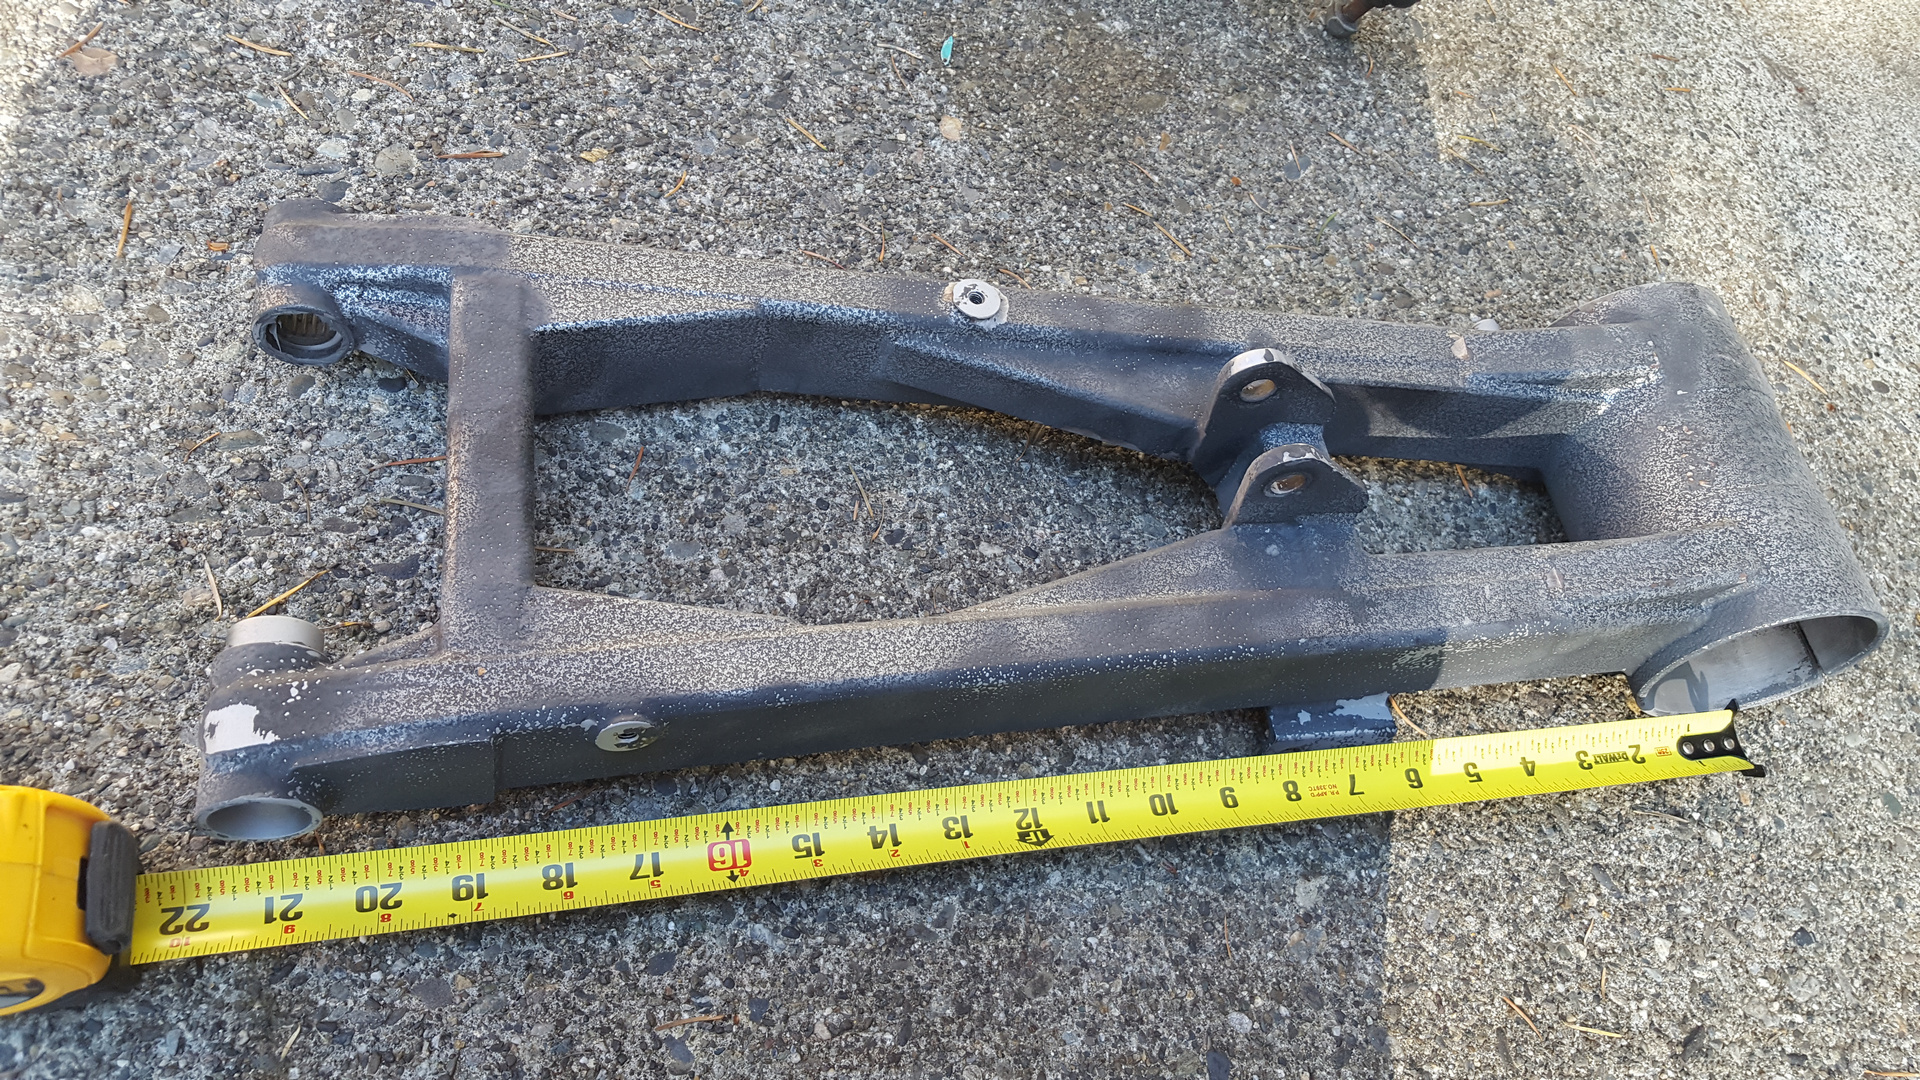
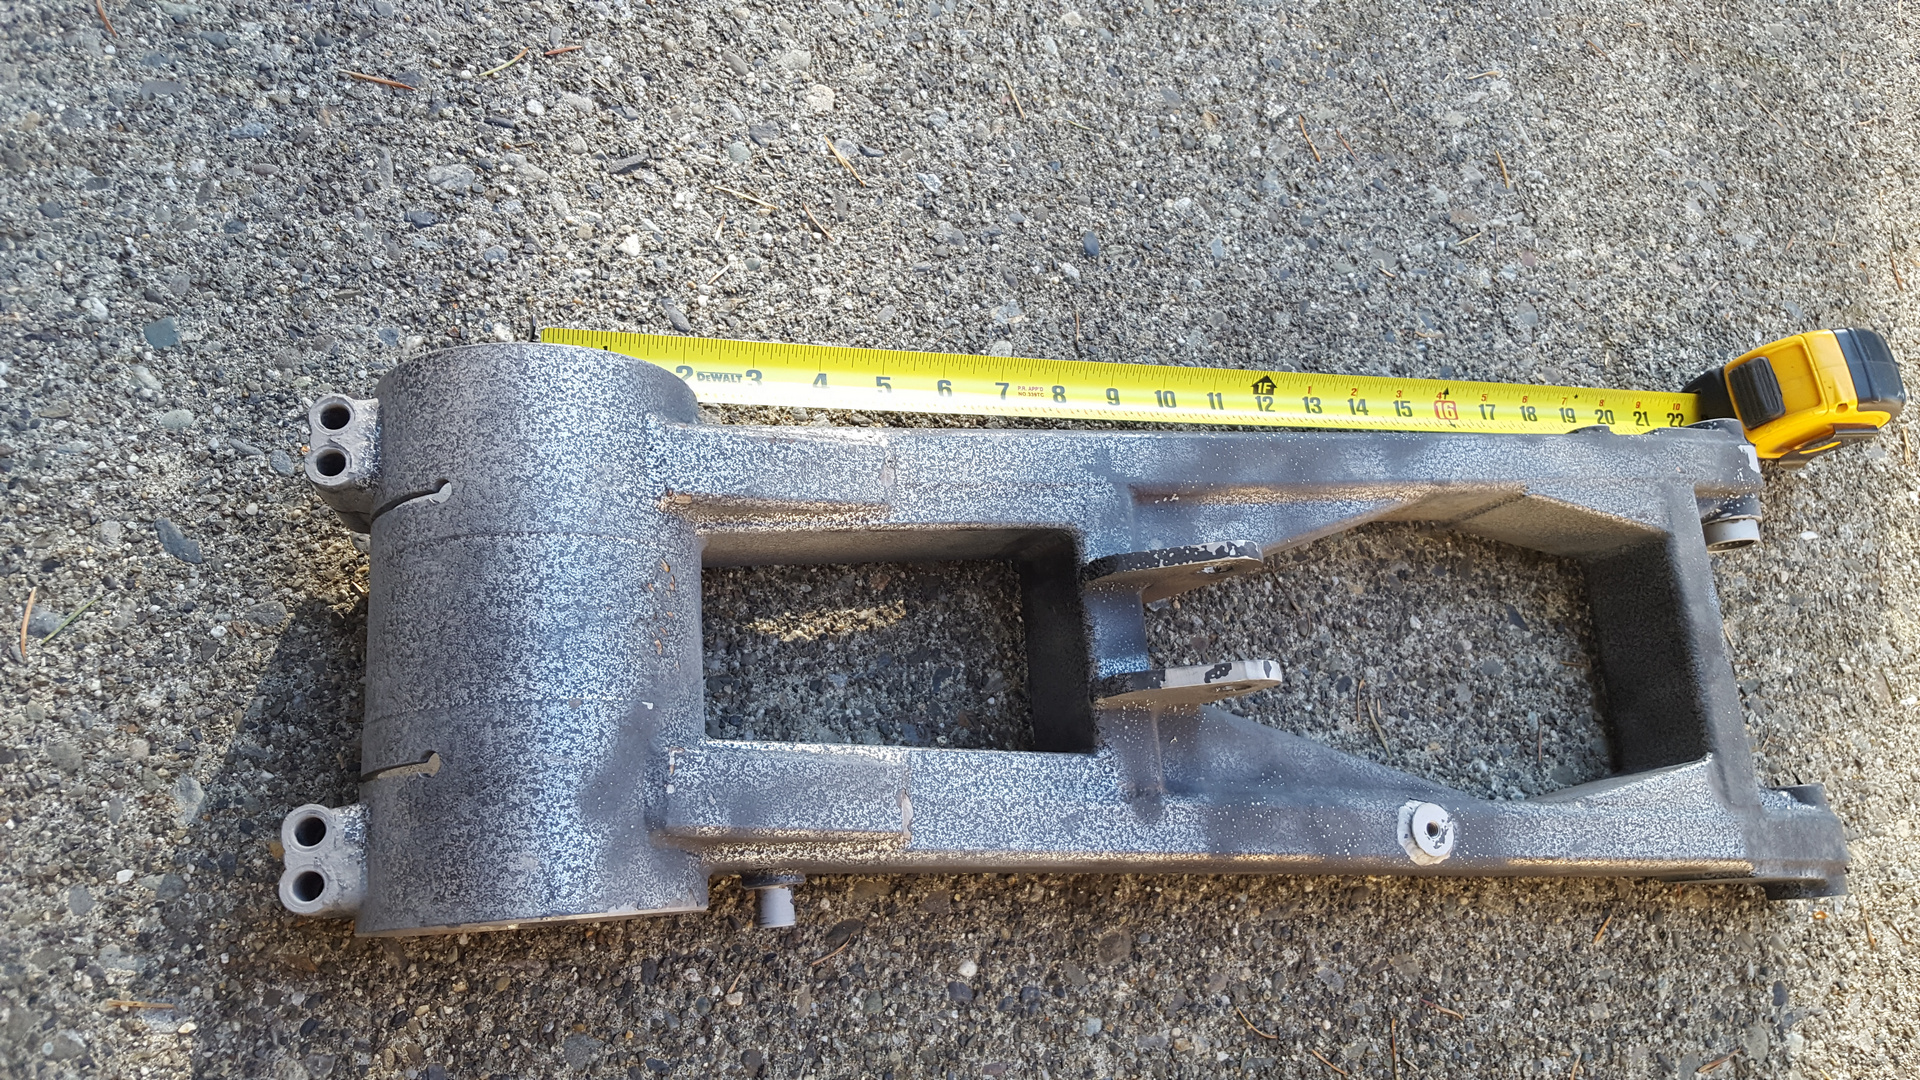
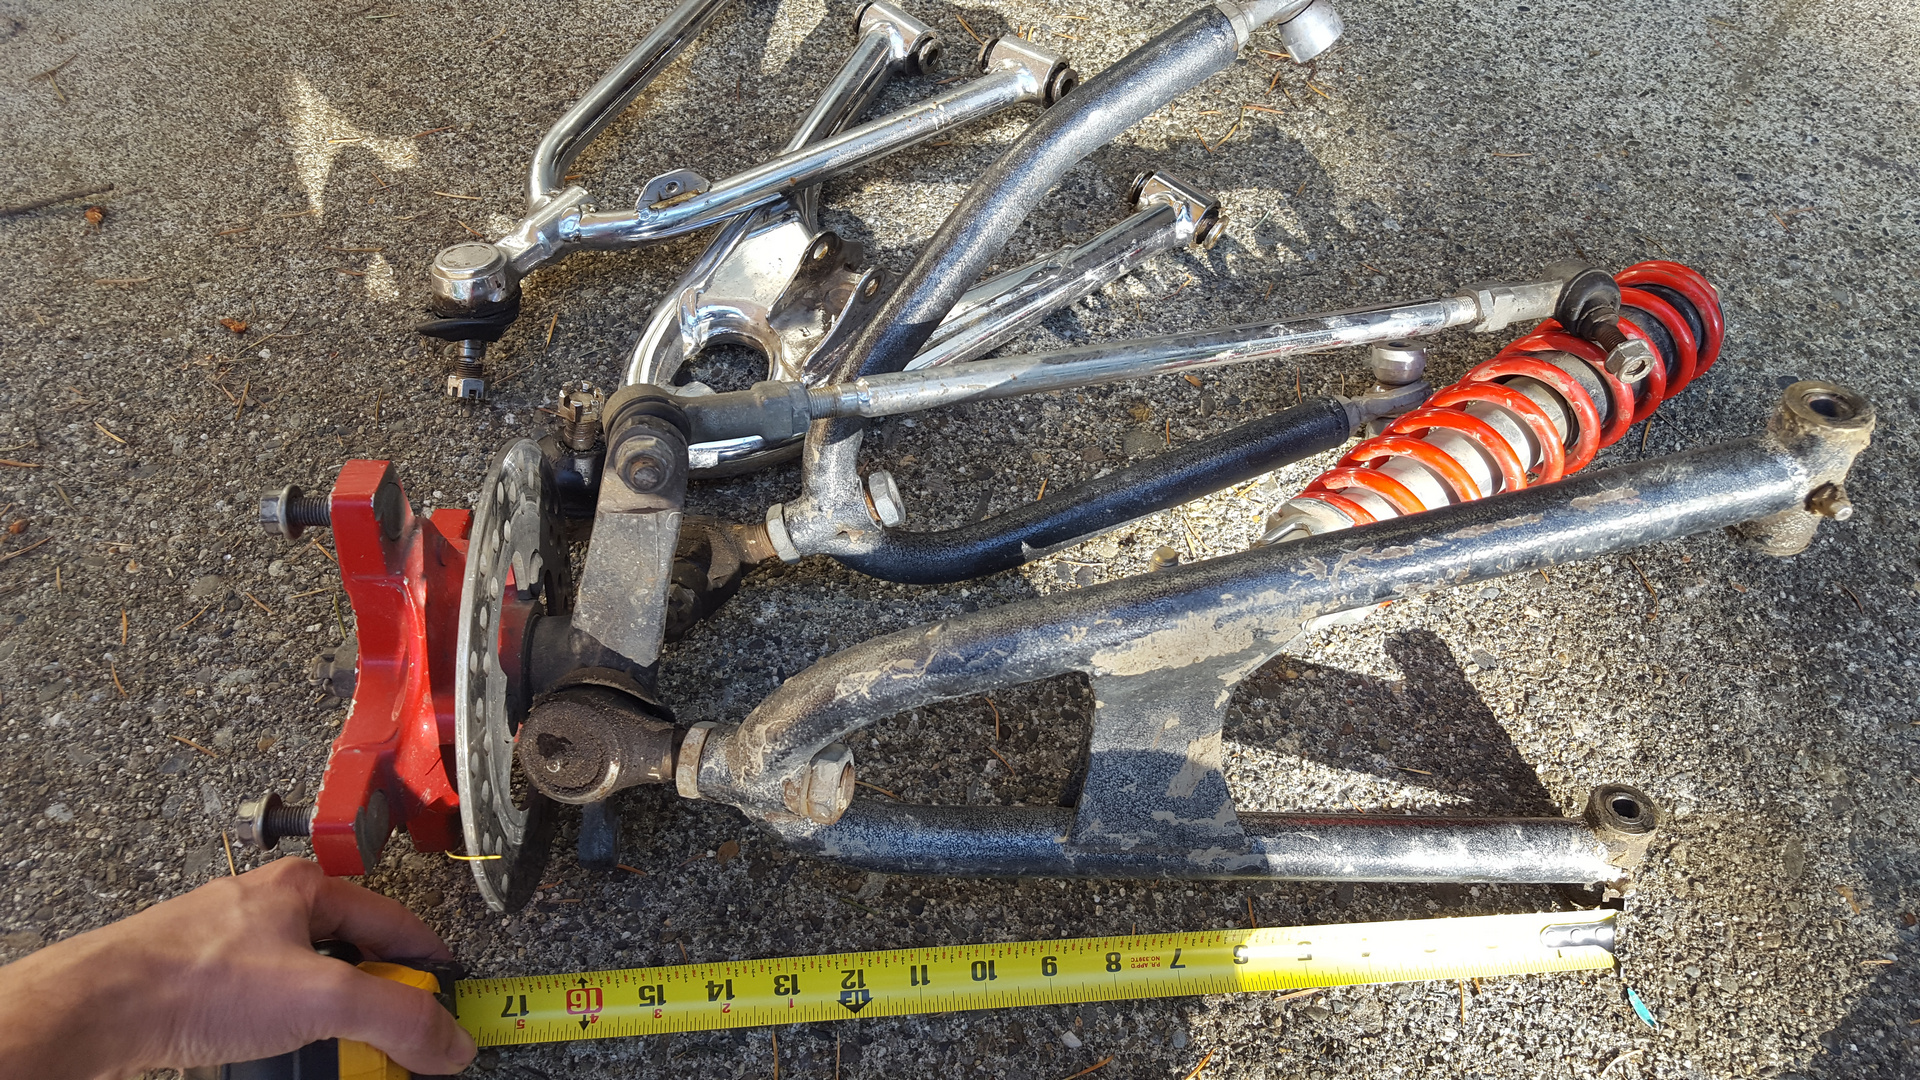
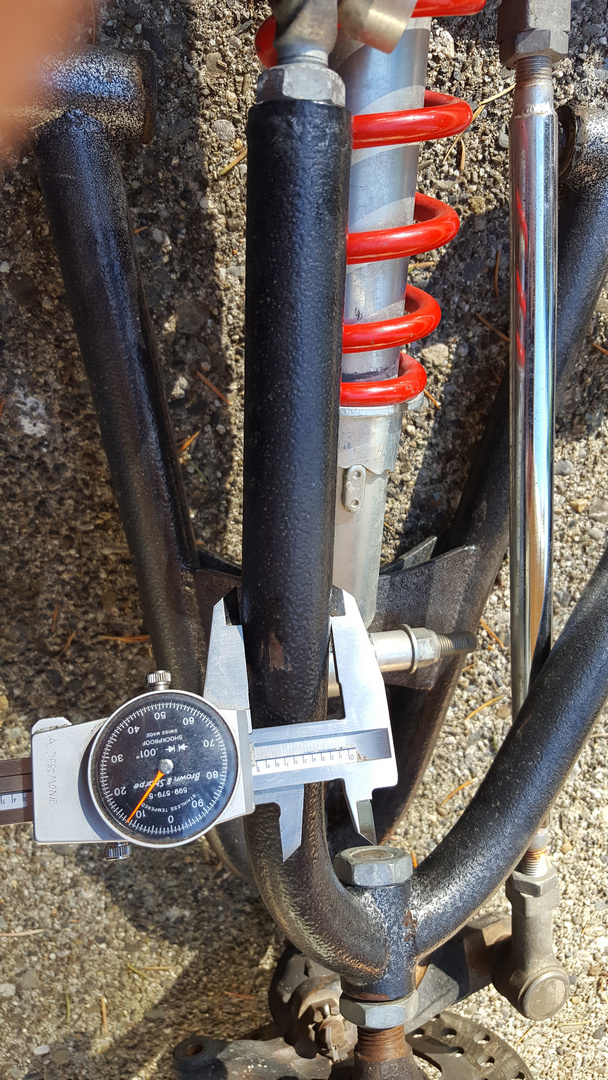
Suspension and Chassis / Help identifying swingarm and A-arms!
« on: May 11, 2016, 09:31:48 AM »
Thanks guys!

This section allows you to view all posts made by this member. Note that you can only see posts made in areas you currently have access to.


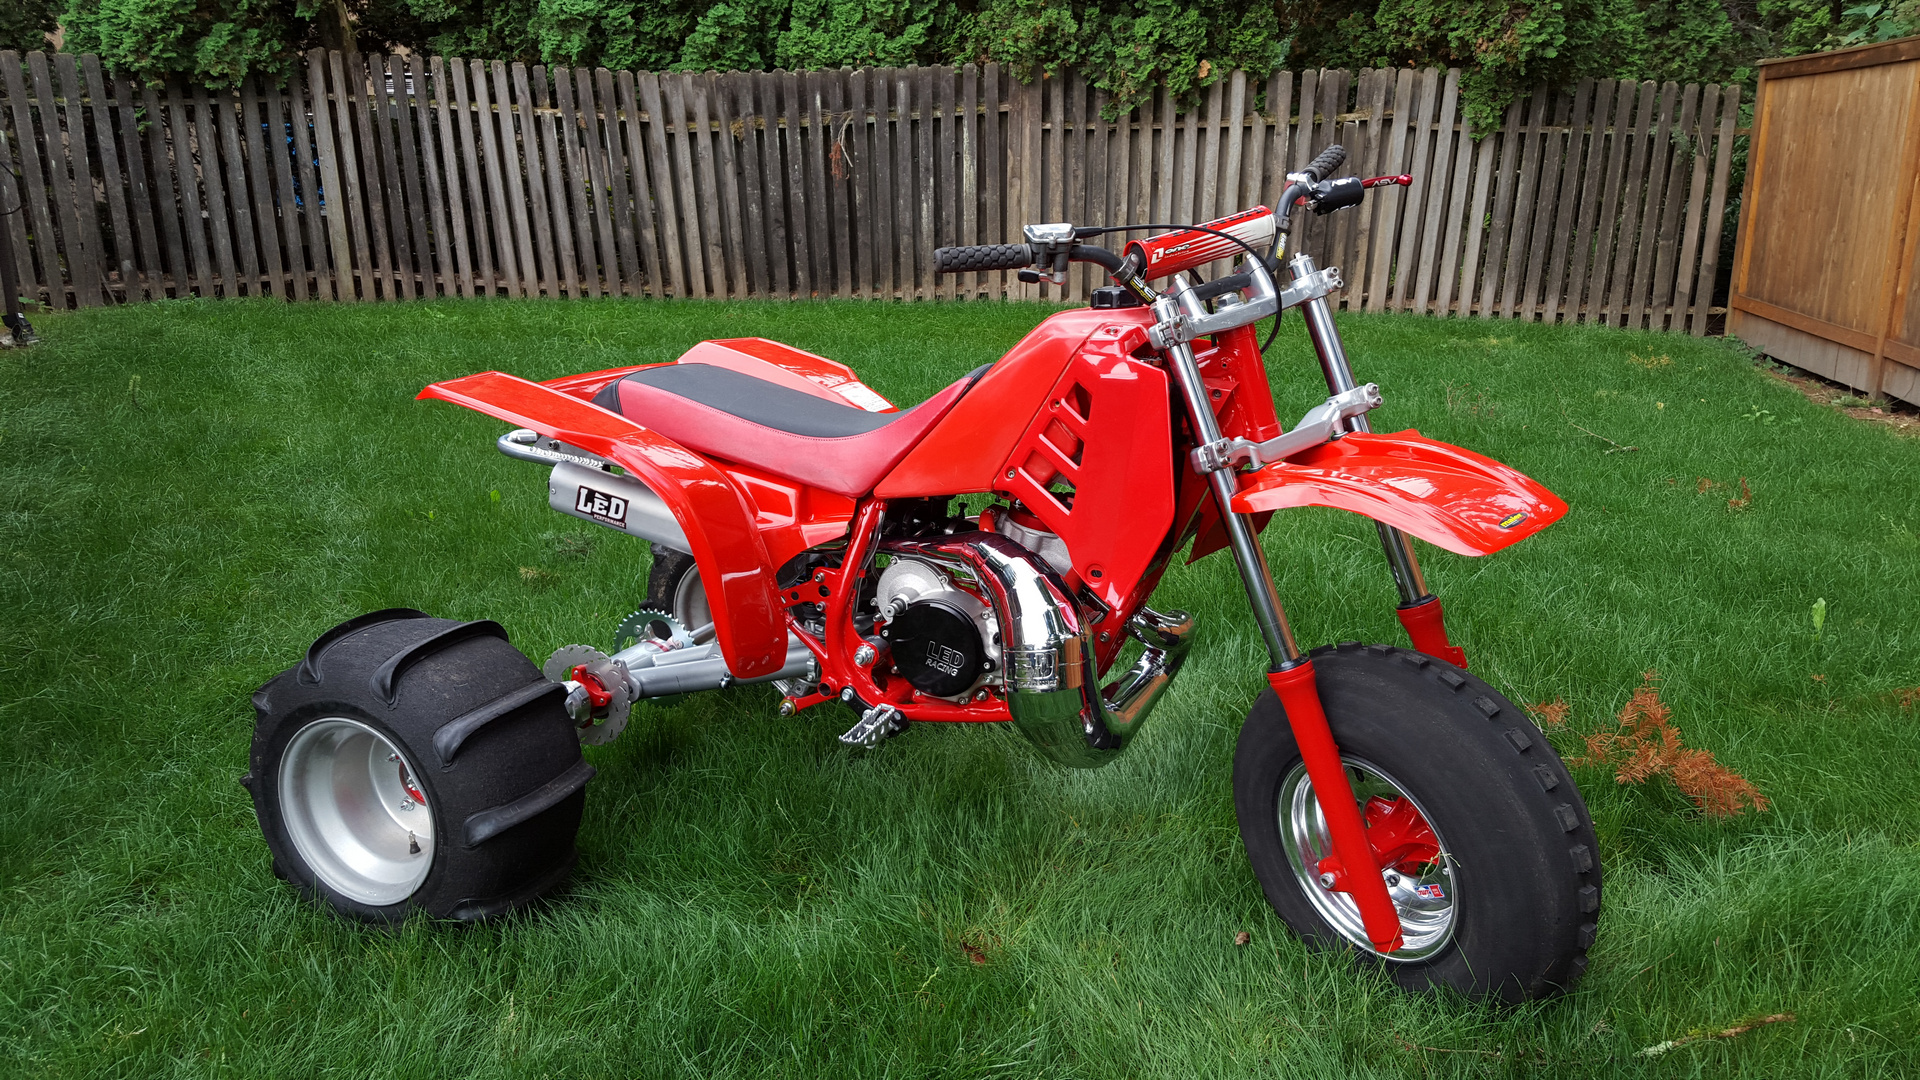
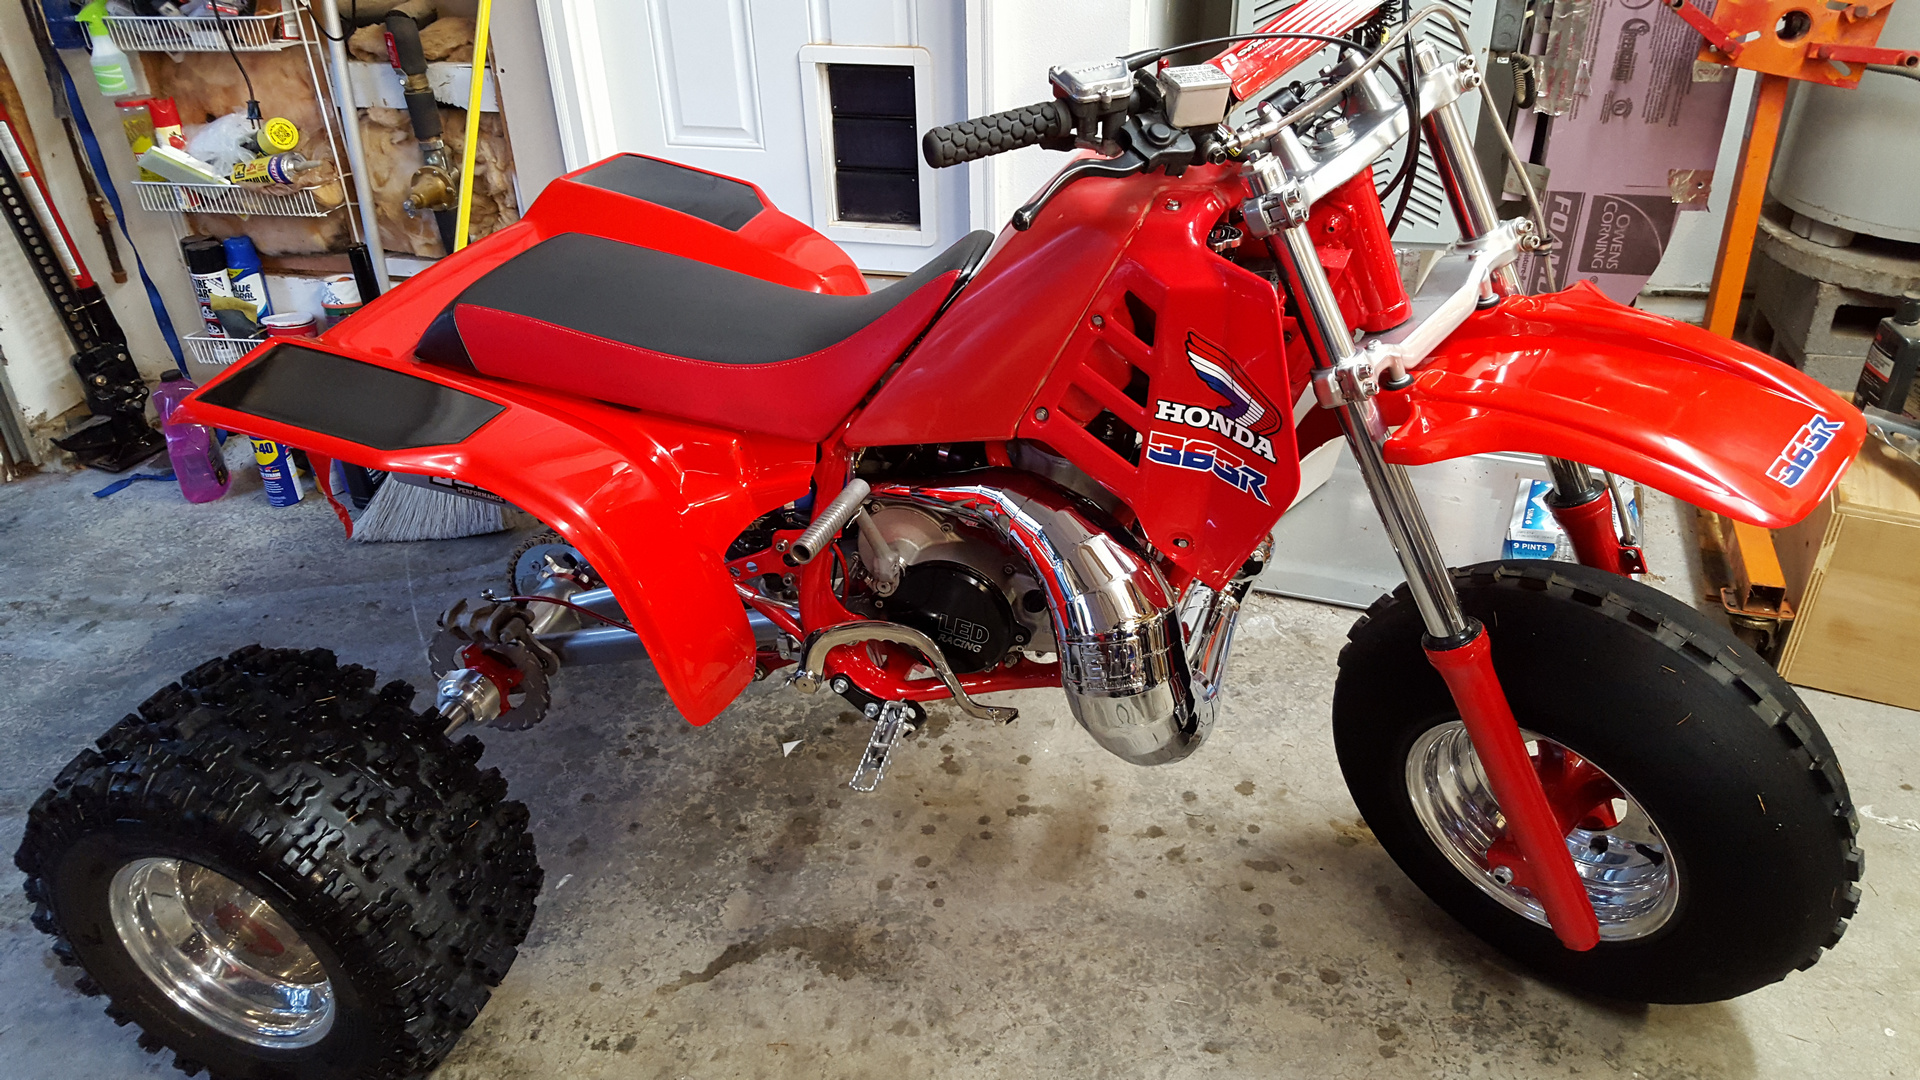
 carb settings are/were DEJ needle 4th from top, 52 pilot, 182 main and running 110 with maxima 927 32:1. Seemed very rich/smokey. once home got to idle with pilot drop to 50 and idle speed screw all the way in. Plus lookin better with some snazzy decals:
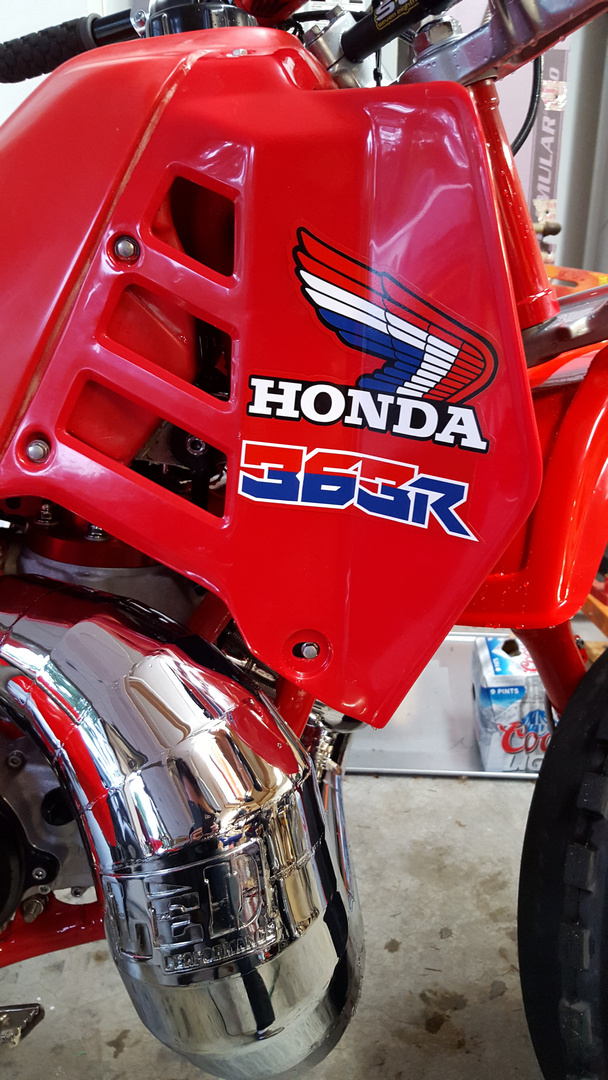

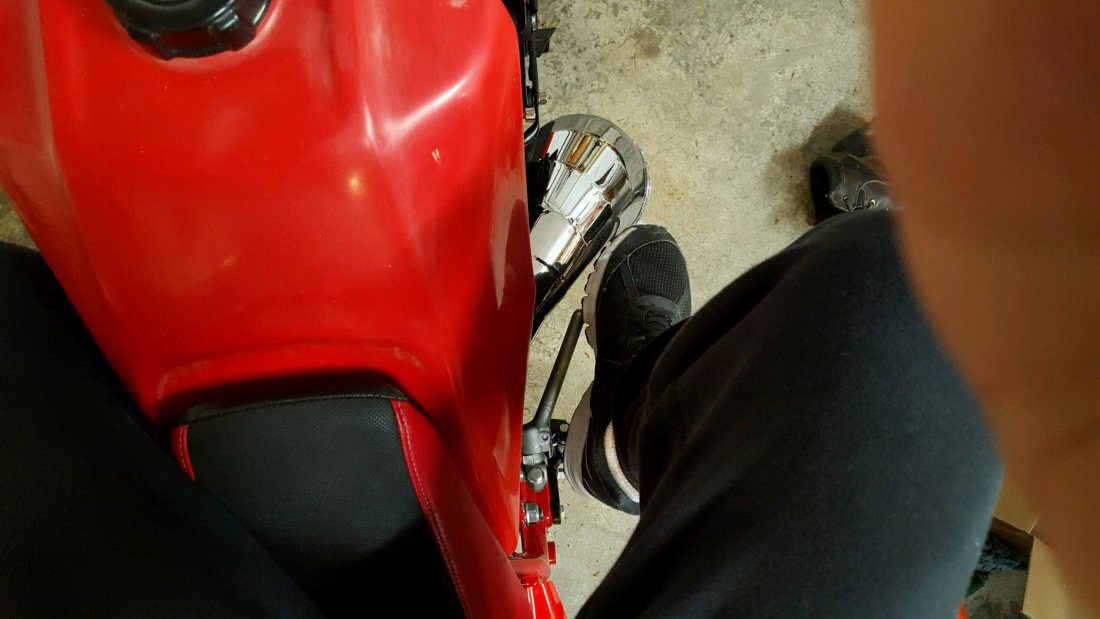
I kick with my toe with boots turned part way off the kicker...
what riding style was your motor ported for? what is the final size? just curious as 10 pdls on a short atc may be a bit over paddled?